
Alright it’s time to build an oven but not just any oven. We have some specific requirements.
1. Electric – I don’t want to mess around with acquiring whatever kind of fuel we might use and the sigificant other won’t let me tap into the gas lines, not even the neighbor’s.
2. Computerized – This thing needs to be programmable. I want to be able to set a fixed temperature and keep it within a few degrees and program timed temperature cycles.
3. Networked – That’s right, this thing is IOT or whatever. We’re going to control it with a web server or at least provide instructions in a web server, the part of the server talking to the oven isn’t going to be the web server.
4. 1500+F – We need to melt aluminum, case harden mild steel, heat cycle high carbon steel, anneal copper and aluminum and maybe other stuff, and bake secret shop cake.
https://whathavewelearned.myshopify.com/collections/smelter
So how are we going to do this? Well we’re going to build an enclosure out of crappy fire bricks from menards, then we’re going to wind heater wire around hooks embedded in our bricks. We’re going to run pieces of all-thread through the brick enclosure to hook up power. Also we’ll stick a big thermocouple through the corner. We’ll stick an ESP8266/NodeMCU on it and control an SSR with it. Then we’ll build a new VM on the server to host the web server to talk to the ESP. I wanted to put the web server on the ESP, well I did put the web server on the ESP initially but I couldn’t find a way to release the memory strings are kept in and the web page is stored in a string so every time the page refreshed (IE. the timer ticked down) a new string was created without releasing the old one until it ran out of memory and crashed. So yeah we’ll just put the web server on a real server and let it handle all the thinking.
The ESP will just log time, monitor the temp, and respond to keep alive signals. Since this thing is going to be pretty likely to burn down my house we’ll go ahead and build in a watchdog or two. If the ESP doesn’t hear from the server after so long it will shut off, if the temp runs away we’re going to have a real mechanical relay to cut power to the whole rig. If the web server doesn’t hear back from the ESP, well there’s not much it can do about it so we’re going to tie this into Twilio so it can send me a text, maybe we’ll go a step further and tie it into the security system too. Maybe sometime we’ll do some hardware hacking to rig simplisafe sensors to do things they weren’t intended to do.
Alright lets discuss a couple things in a bit more detail for anyone who’s interested.
Safety might be a good topic to address. I really wouldn’t recommend trying to build this unless you know what you’re doing. Like to the extent you’re reading this for fun and don’t need me to tell you how to build this. Even then it’s probably a bad idea. Just know I accept no liability for anything you do with this info. See the site disclaimer.
I welded a bunch of galvanized stuff here. You’re really not supposed to do that so don’t.
So step one in safety is the normally open, mechanical relay that will interrupt power to the whole rig if any of our safety catches are tripped. SSRs (solid state relays) scare me, I almost had one burn down my house once, started my old reprap (we’ll look at that some time) on fire with the heated bed. See, the fail state of an SSR is closed meaning whatever it controls power to is now energized permanently. In a heating use case like the reprap or this smelter that means permanent, uncontrollable, runaway temperature. Normally we want the heat to cycle off when it hits temp and on when the temp drops below a specific threshold.
We’re going to address this by creating a function in our ESP that watches for thermal runaway. For example the web server tells the ESP we want 1200 degrees, the ESP reads the thermocouple (say we just turned the oven on) and gets 60 degrees, the ESP energizes the SSR, the SSR energizes the heating elements, then the ESP monitors until the requested temp is reached and cuts power to the SSRs. Now what should happen is the temp should drop, we might see a brief continued increase we have to account for as the added energy makes its way to our thermocouple. If after the period for which we have decided to ignore further increased temperature elapses and we then see a continued increase in temp we have to assume the SSR blew and the heater will continue to heat indefinitely. If this happens the ESP then should cut power to the mechanical relay (in this case contactor to be more specific) which will physically cut power to everything, disaster averted. This is the biggest safety concern. I want to be able to leave this thing on, unattended, for many hours. I do not want to find I no longer have a ship if I do this.
Another concern is the mild instability of the ESP8266. I use these with arduino because I’m lazy. I don’t get the impression that’s what they are built for and so the interpreter seems to have to do some extra work and maybe doesn’t get everything quite right (hence the buffer overrun mentioned above). I’m really not sure what these things are made for in general. I once tried to switch over to the ESP32 just because it has more juice. Pretty much no matter what I did the brownout watchdog (whines if there is insufficient power) tripped and rebooted the ESP. Turned out to be completely useless to me so now I stick with the 8266s exclusively.
Anyway we need to address any potential crashes. Now we could go further than I’m going to and put something like an ATtiny in our controller box and have it monitor the ESP and reboot it if it ever crashes, then the next time the server sends a ping the ESP could report a reboot and the server would reply with the current instructions. This wouldn’t be too tough but for now I think it is overboard, maybe some other time. Instead for now is the server notices the ESP is not responding it will send me an SMS message.
What if the server blows up for some reason. I live in a state that is basically a 3rd world country so my power blips for a good half second or so nearly daily (can’t tell you how much plastic filament this has wasted, have a UPS on there now). The servers are battery backed but you never know. We don’t want a brief blip to interrupt a 20 hour heat cycle so we’ll tell the ESP what the future cycles look like and maybe we’ll stick a great big red light on the control box which will light up when it hasn’t heard from the server in too long. We could go a step further and connect the ESP to twilio directly but I don’t feel like putting in the extra effort. Ultimately when it runs out of steps it will just turn itself off.
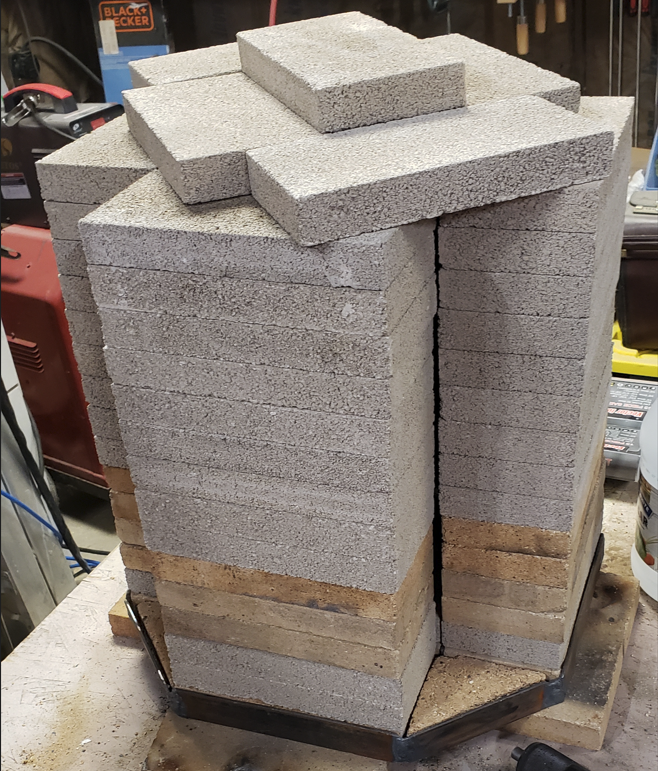
Alright so lets discuss some of the details of the hardware assembly. So I started by making a base out of angle iron. I decided to go with an octagon shape. Bricks long ways making up the four internal edges and bricks cut into triangles to make the corners, you should be able to get 4 per brick. So that’s four stacks of full bricks and four stacks of corners. I used one of those diamond cutting wheels which fit on an angle grinder to cut these. I also welded casters to the base so we can move this thing around.
Check my store for most of the hardware you will need.
Once I had figured out exactly how many bricks I needed I started with the most tedious part of the whole process. I built a little jig for this, I recommend using a jig for everything if you can.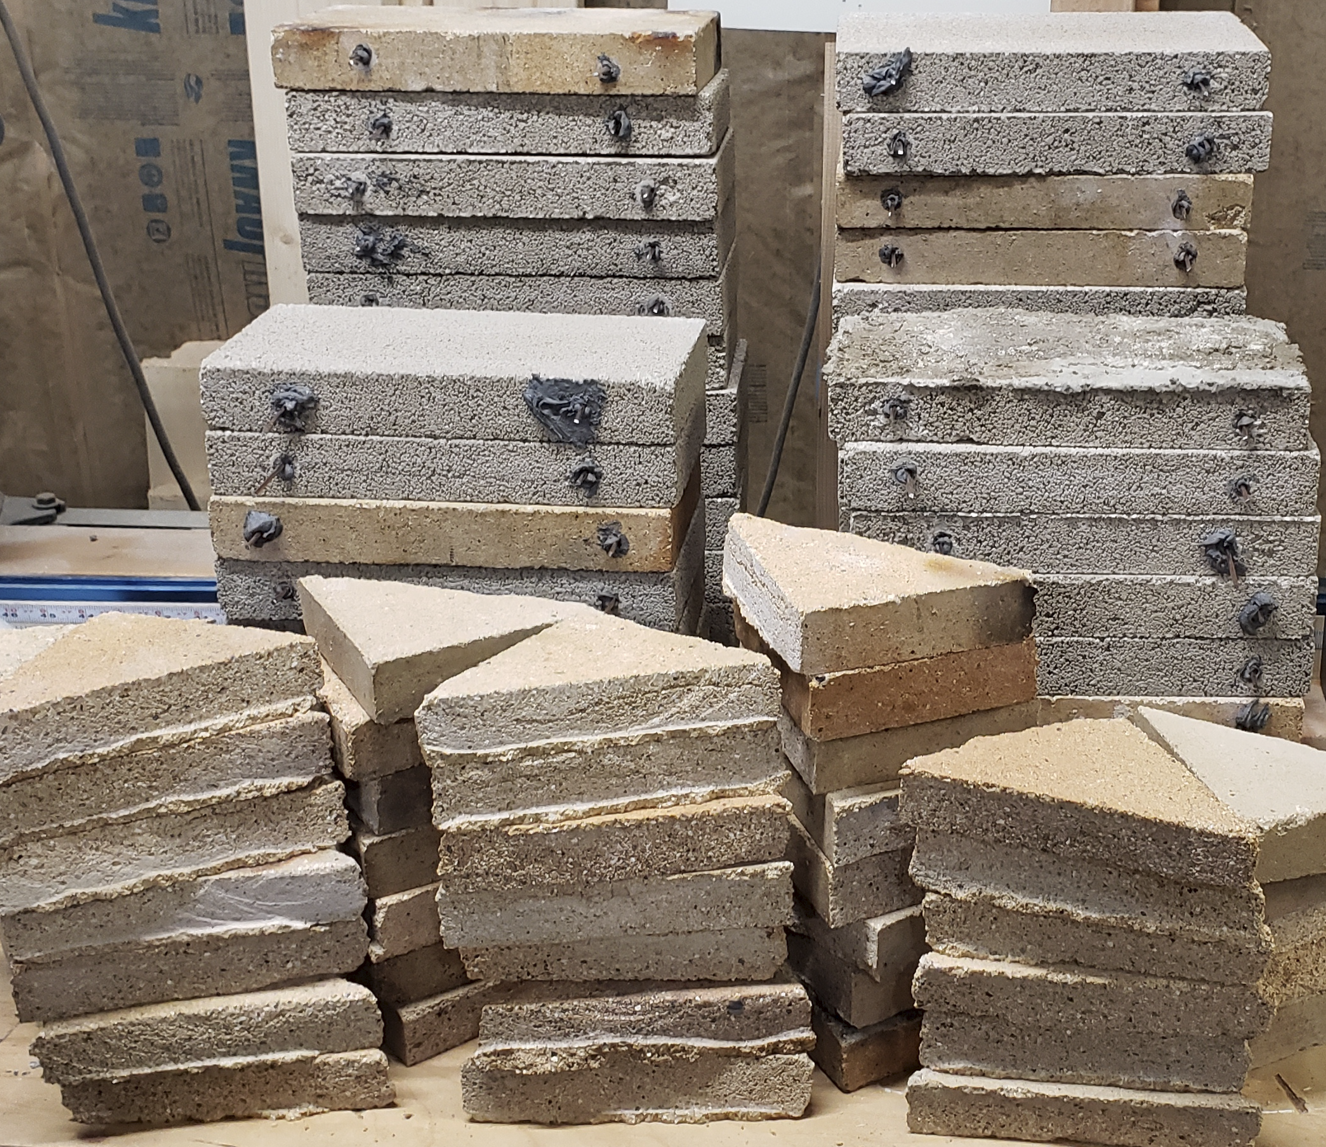
I drilled 2 holes in the side of each internal face of each brick. One by one, for a really long time. Then I rigged up some bolt cutters screwed to my bench and chopped TIG welding rod into 4 inch sections, dozens of them. Then I used a syringe to inject concrete adhesive caulking into each hole, one by one, forever. Then I hammered the pieces of TIG rod into each hole. These will be used to attach the heating element.
Next it was time to mix up a load of refractory cement and glue it all together. Don’t forget the thermocouple and the all-thread to get power into the heating chamber.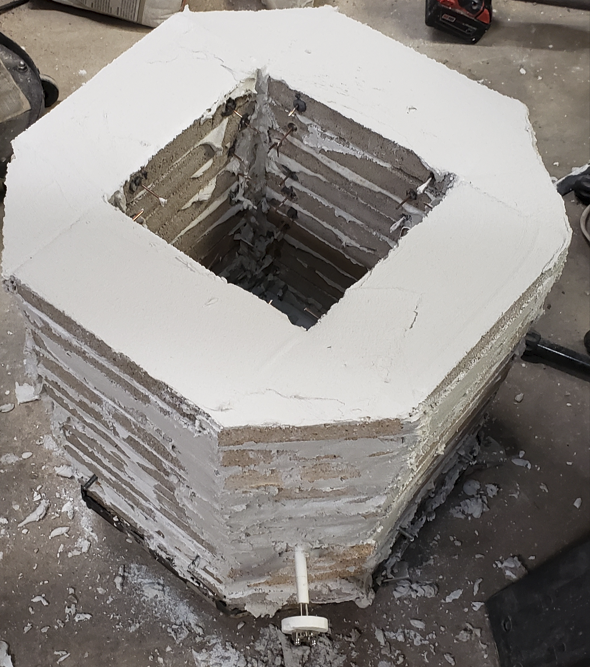
Take your time and try to get it as even and level as possible. I skipped this step.
I then weaved heating element wire back and forth over all the little pieces of TIG rod and bent it over to hold the wire in place. 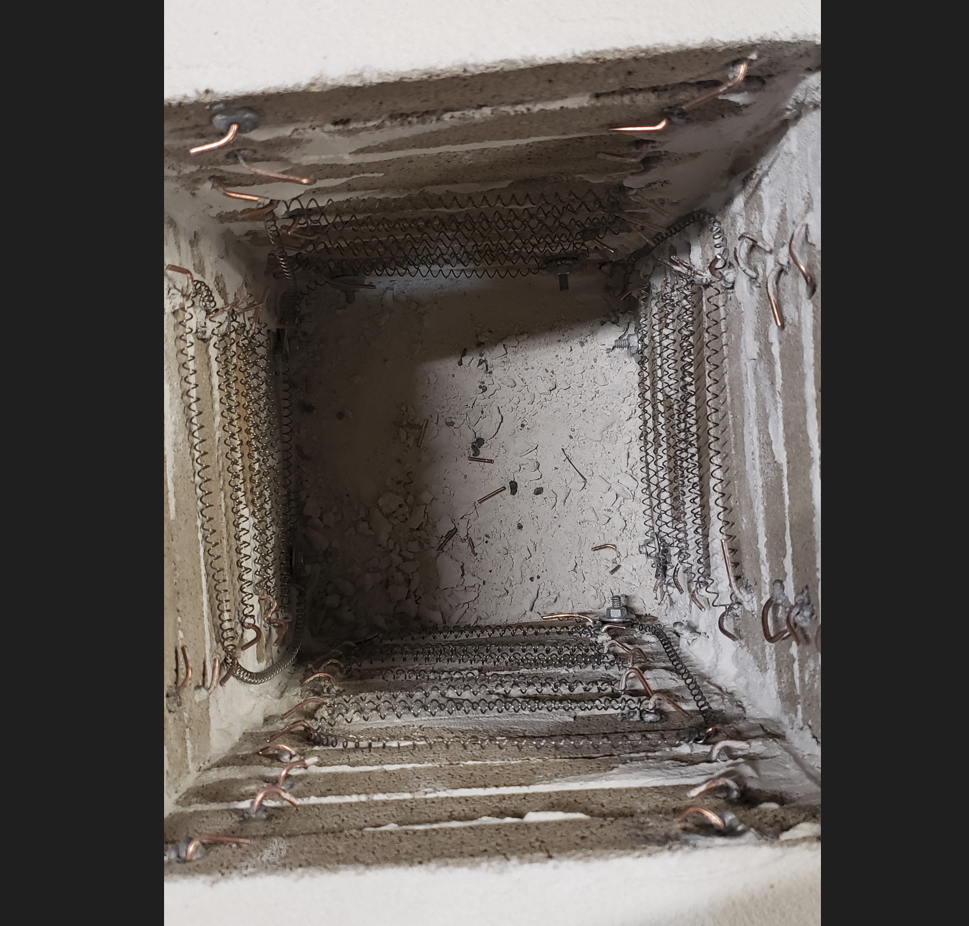
This was a disaster. When you power this wire up it will get really hot (shocking right?) and then it will expand a lot. Then when it cools down it will shrink a lot. As a result it will break all apart on all your attachment points. If it is wound close enough to another run they will contact each other and short out. This can cause all kinds of problems. The biggest one being a drop in the resistance of the wire and a massive jump in the amperage and a kicked breaker, if you’re lucky.
Here’s the right-ish way to do this.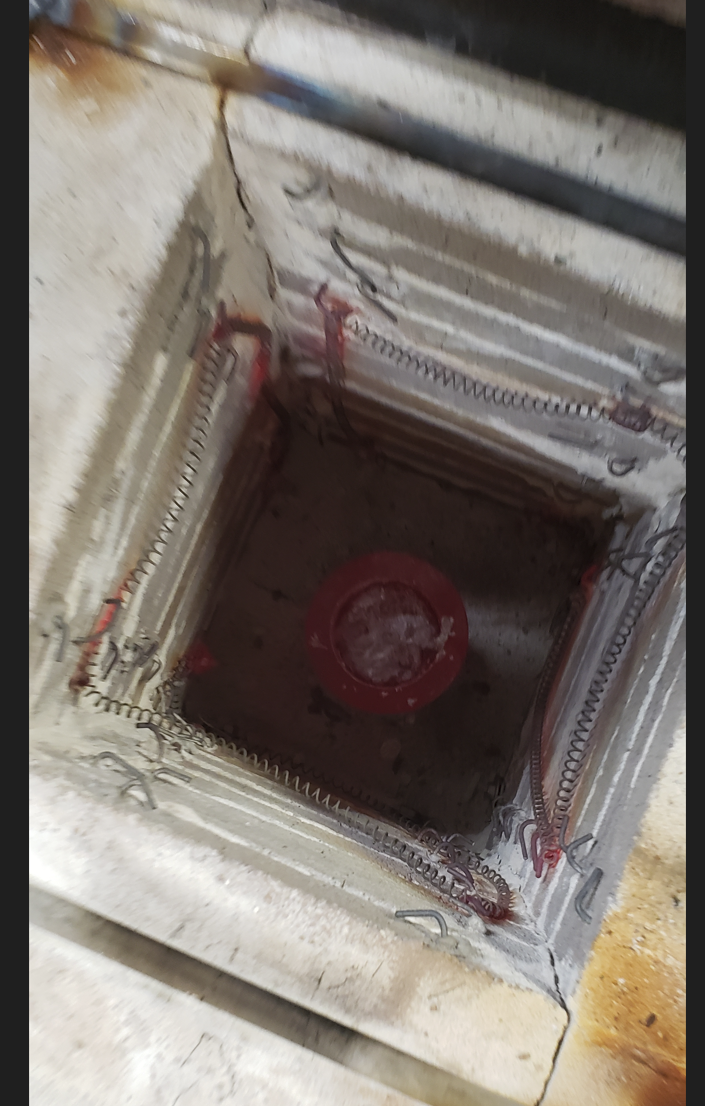
Nice and loose, plenty of room between the wires. Notice that nice glowing red crucible down there. We’re actually getting somewhere.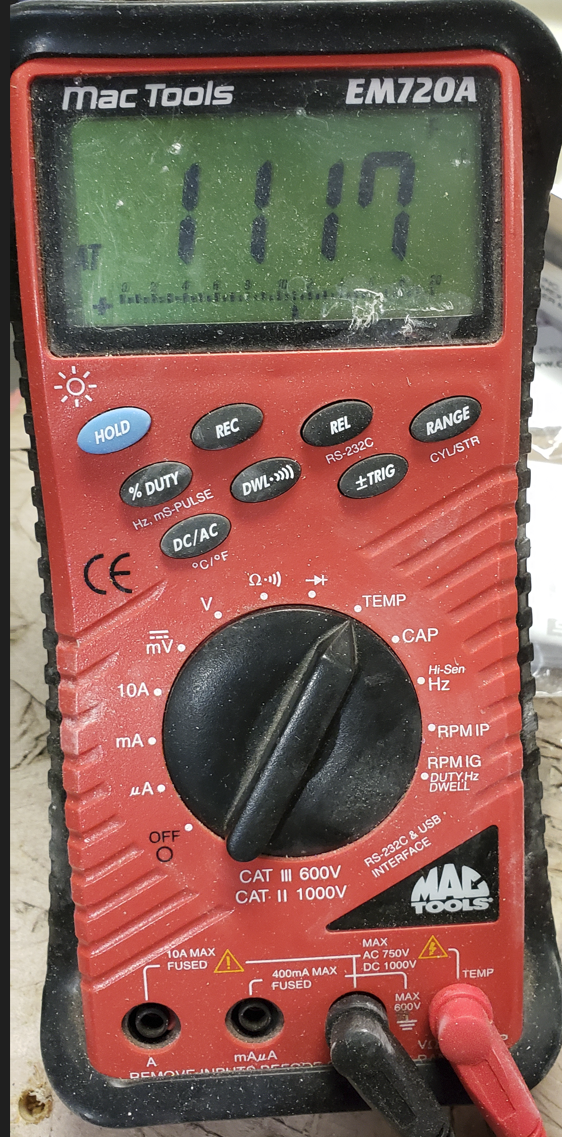
1100 degrees F. Not bad.
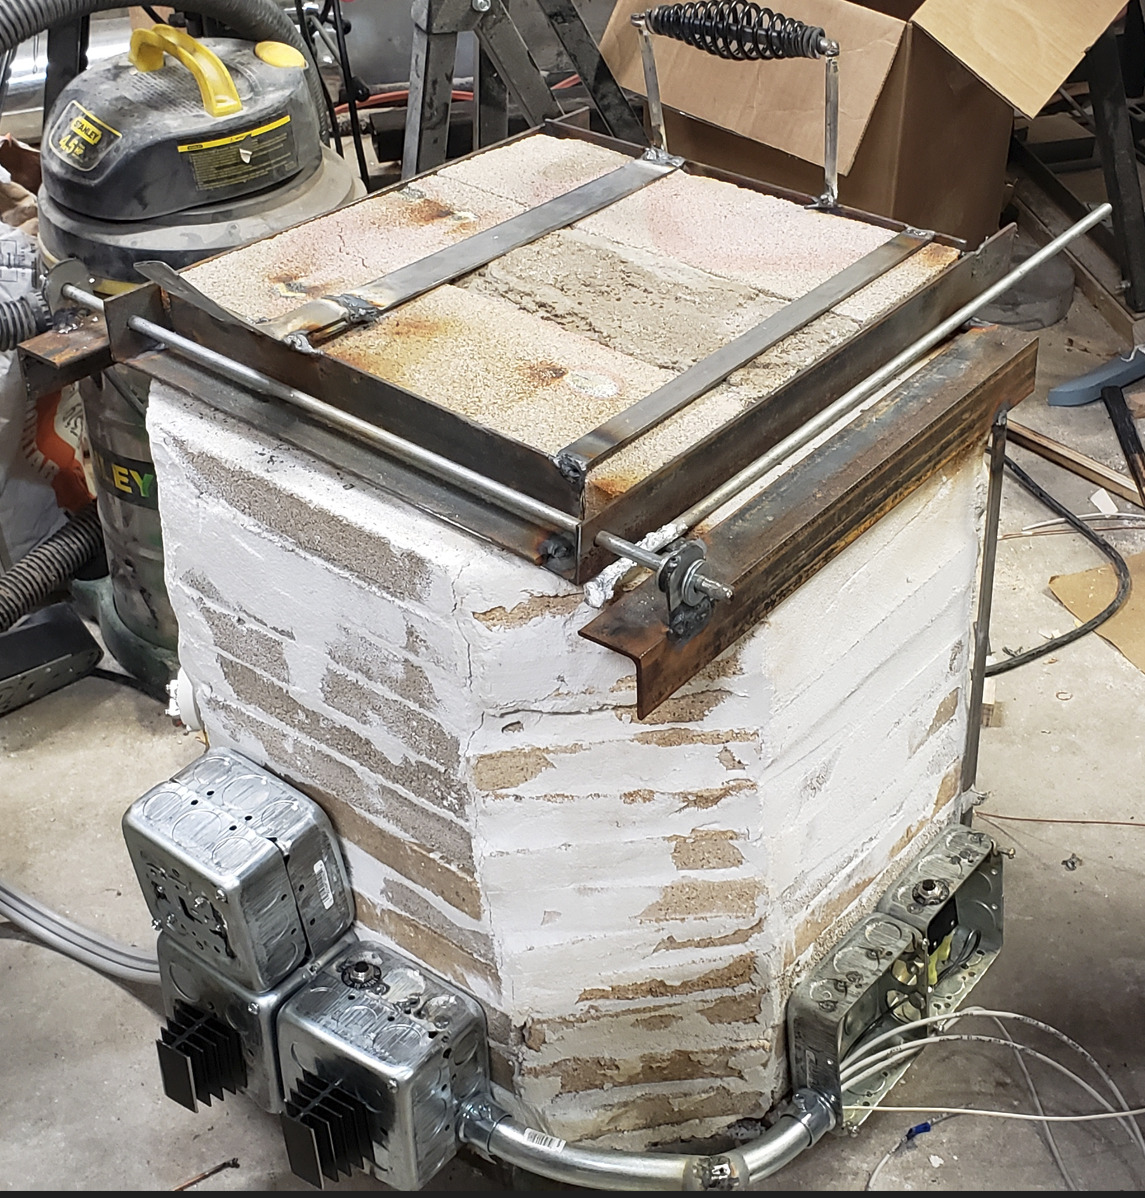
Alright lets make it closer to an actual usable thing. Frame it up, reduce the amount of external, conductive, 240v, contact points, etc.
Got a lid and a handle and everything.
One Reply to “DIY Computerized Electric Smelter/Furnace/Oven/Kiln”