
Alright time for another concurrent project. This time we’re going to build a dust collection system for the wood shop. If you follow my projects you may not be aware there is a wood shop. I don’t know that I’ve mentioned it yet but you might have noticed some pieces in the background of some pictures.
The shop has all the basics and maybe some less basic stuff. Table saw, miter saw, radial arm saw, router table, planer, jointer, drum sander, bench sander, etc. What does that mean? Loads and loads of saw dust. And the best part is this is all crammed into the same 600 sq. ft. room as my metal shop including the smelter and the welders and probably plenty of other items ready to burst into flames at any moment.
Why build this?
I can’t do anything about the layout or shop’s size but I can make it very slightly more safe. If we can contain the bulk of the dust that’s just one less readily flammable thing to worry about. Unfortunately I can’t even put a smoke detector out here just in case because it would be set off all the time under normal circumstances, specifically welding. I have a plan for that but that’s another project (we’re going to use a light sensor to cut the power when the lights are on).
Anyway, I don’t want to have to fiddle around with turning on the dust collector and opening the correct blast gates and having that running all the time. First off the dust collector is going in the rafters so turning it on and off could be a chore if I don’t do something about that. Secondly I don’t necessarily know when I’m going to be doing wood working or when I’m just going to go hack a 2×4 in half or whatever. If I don’t make it extremely non-intrusive to use I just won’t use it, like the prior year and a half the dust collector has been sitting in the middle of the shop. Looks like they’ve cheapened the design even more…
The Plan
Ok, so here’s the plan. Right now I have some ball-valve style dust collector blast gates printing, courtesy of PeterH1500, no relation. These are neat because the design prevents the dust from collecting in the channel where a normal blast gate rests when it is closed. The other great thing is blast gates are ridiculously priced everywhere I’ve looked. I’m printing these with PETG and I can get several out of a $20 spool. I don’t think I could get one of the blast gates that aren’t as good off-the-shelf for that. In fact you can probably buy a 3D printer and the filament for less than off-the-shelf blast gates would cost.
I would rather be using ABS but the design of these means the dimensions need to be very accurate and I haven’t finished the big, enclosed printer yet so for now PETG is the best I can do. Shame because I think I could also print maybe 3 complete units at once instead of 1 piece of 1 unit at a time like I am now. I opted not to use PLA because it deforms under pressure over time and that would cause it to fail as well.
You might have noticed this ball valve has a nice big lever on the valve. This is perfect for connecting a cheap servo and what do you know, I just happen to have a pile of those here. So like everything (because I’m lazy, what of it? plus I have like 100 of these on hand) we’ll just use a nodeMCU (esp8266) for this. We should be able to control them directly without a separate servo controller but we will probably need some kind of power hub because the servos will need more power than the esp8266 can deliver.
The Brains
Alright, now how do we tell the nodeMCU arduino what to do? This is the cool part. We’re going to hack in an inductive current sensor on each device we want dust collection on. This is very simple really. If you wrap a coil of wire around a single AC wire (the individual neutral or hot, not the whole cable, the positive and negative signals cancel each other out) the coil will be energized by the electricity running through the AC wire. You can then process this a few ways.
You can use a hall effect sensor to pick up the magnetic flux but this method requires more hardware and programming or you can feed your new AC power through a zener diode (and a capacitor if you want to do it really cleanly) to both strip the AC aspect and limit the voltage so we don’t explode or MCU (microcontroller unit/arduino/nodeMCU/ESP8266). Diodes only allow current one way so the positive electricity will go through and the negative won’t and a zener diode in particular limits voltage. You could use a full-bridge rectifier so you get the full DC power but in this case it’s not necessary. Going through a single diode will mean we only get half the electricity (the positive cycle or half the current phase) but that’s good enough. It might be worth adding a resistor too to limit current just in case but we’ll deal with that when we get to real world testing.
So once we are able read our AC signal we’ll be able to tell when whichever device is switched on. From there the nodeMCU will tell the dust collector to switch on with a relay and it will instruct the server at the appropriate blast gate to open, simple!
One Last Thing
I really don’t care for the design of the dust collector itself. The biggest problem is all the sawdust/wood chips/metal fragments/hand tools you happen to pick up go straight back to the impeller. This means any of those last few things I mentioned are going to destroy the dust collector. Unfortunately there isn’t a great way to fix this or at least not an easy one. I replaced the stupid cloth bag the thing uses as a dust filter with a real, very large paper filter element. We could enclose that whole filter with a big trash can or something with a port on it to suck the air in through the current port, through the filter, and out to the impeller through the trash can port, maybe someday.
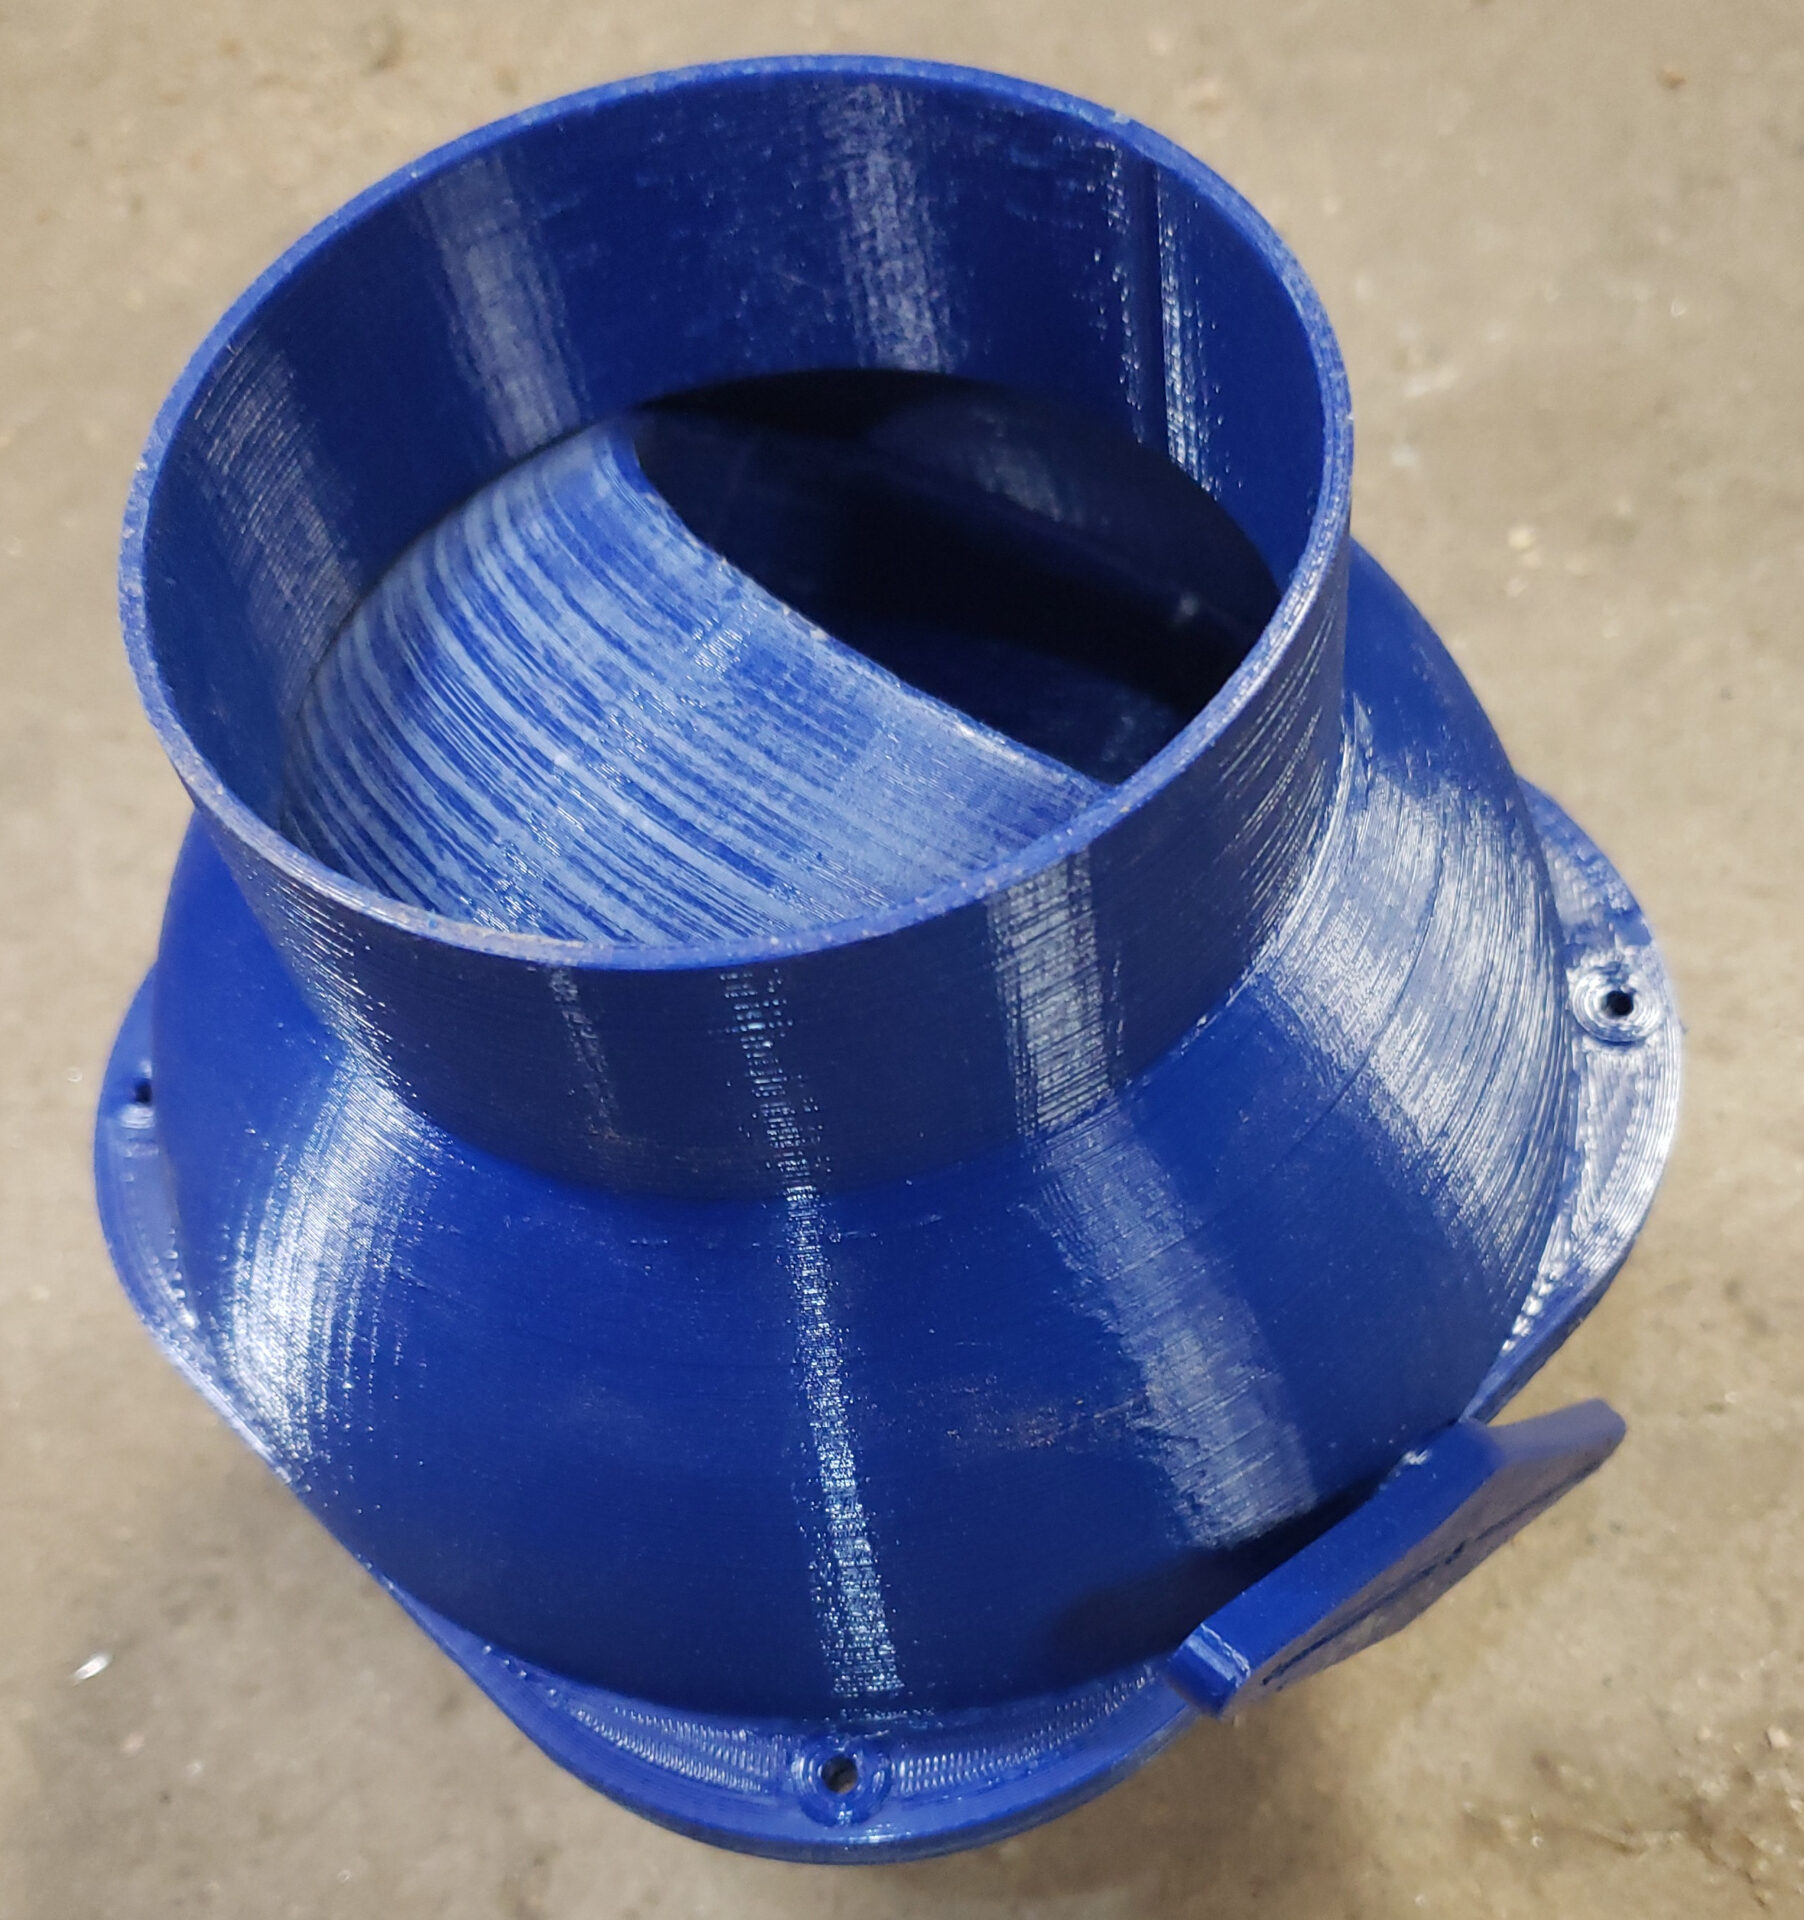
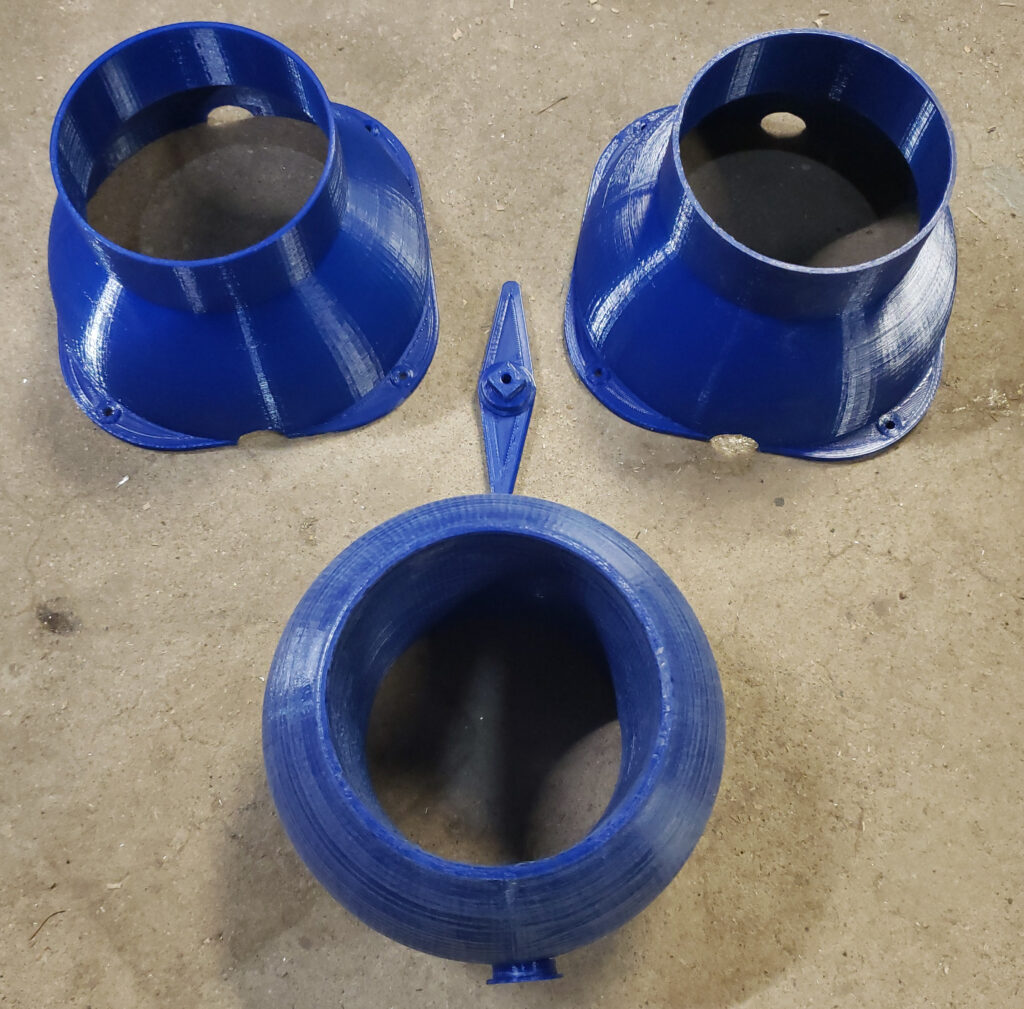
For now I’m going to put a dust separator cyclone right before the impeller. So we need a 4 inch cyclone. Quick check on Amazon…. $179.95. AHAHAHAHAAHA, pass. This thing is just a chunk of plastic and I happen to have a machine that cost less than that piece of plastic that spits out plastic on the other side of this room. Quick check on Thingiverse… and there we go. So we’ll just print this thing up and problem solved. Maybe 1/4 of a roll of filament at best or $5. Just think what it cost the manufacturer on Amazon, twenty-five cents maybe?
Once I start building I will update this with pictures and write a part 2 with code and more info. Subscribe below to make sure you don’t miss that or anything else.